


First of all: this is not a quilt. I don’t know much about quilting, but as far as I know it should involve square pieces of fabric, manual needlework and attaching the three layers (design, isolation layer and bottom layer) in one go. What we’re doing here is using up scraps of fabric to create a plaid, minimising the manual work as much as possible.
Step 1 : make a computerised design
We have quite some fabric in many different designs, so we can make a big plaid. I started the design on a piece of A4 paper, choosing a symmetrical, geometrical star as the center piece. To keep it easy, the top and bottom half of the plaid will have the same design and because of the double symmetry, I actually have to draw only one eighth of the plaid, which I can then replicate all around. The paper design is mostly ruler straight and calculated, though I add an elliptical shape by hand.


To avoid the tedious work of enlarging this design, I simply draw it in Inkscape as a vector diagram and then ask a local print shop to print it out on a plotter in real size. After I cut that up, I have the pieces we’ll need to cut out of fabric. Last minute before taking the scissors, my Mom reminds me it would be handy to know the ‘vertical’ and ‘radial’ direction of each piece, so I add those with a pencil. The radial direction points towards the ‘heart’ of the star and will be necessary if we want to orient the prints of the pieces. For example, we have a print with a dog and we want want the dogs to look ‘out’ from the center of the star, making the result completely symmetrical.
Step 2 : Assign the fabrics
The symmetrical design will work best if we assign the fabric to each piece based on the color: the star goes from darker blue in the center (B1) to lighter blue (B3), then has a contrasting color. The outer corners of the plaid will be yellow, whereas the edge pieces will be green. Both the yellow and green pieces are copies of G1 and G2, so we’ll have to keep track of that. We try out different combinations by arranging the fabric on a large table and I make a list in excel of how many pieces we need to cut from each part and in which color.
Step 3 : Cut all the pieces
Since it’s a symmetrical design. each part (f.e. B1a) has to be cut eight times – with the exception of green and yellow, which have to be cut four times each. So what you want to do draw the parts on the fabric with the paper mould, adding 7 mm for the seams on each side. Then fold the fabric so that you get can cut eight layers at the same time. By this time we’re getting a grasp of how many parts we need to cut and how much fabric we have available, so we decide to cut enough pieces for three plaids.
Important to note, however, is that the design is of the bottom right corner. The bottom left corner has the same pieces, but flipped vertically (and top right: flipped horizontally), so each part of the design has to be cut four times on the right and four times on the reverse side of the fabric. Second important note: when folding the fabric to create layers, make sure you don’t invert the print! Always keep an eye on the radial direction.


Now that we have all the pieces of the puzzle, we gather the remaining fabric, cut it in strips of eight cm and stitch them all together in one long lint. We have about 20 meters, should be more than for edging the three plaids. Now that we’re thinking ahead, we also order some extra cottonwool (in French this is called ouate, can you believe it) from our usual supplier of organic fabrics.
Step 3 : Sewing


After cutting an astounding amount of pieces (720, to be exact), we now have enough to make three plaids. All the pieces are laid out on a large board in the actual spot they should have in the design. We counted and recounted them, then stacked them layer per layer, matching the different fabric together. The difficult bit here is that the three plaids don’t have the exact same combination of fabrics – remember we’re working with leftovers – so getting everything exactly right is a brain wracking job. It takes us a few hours to get everything straight.
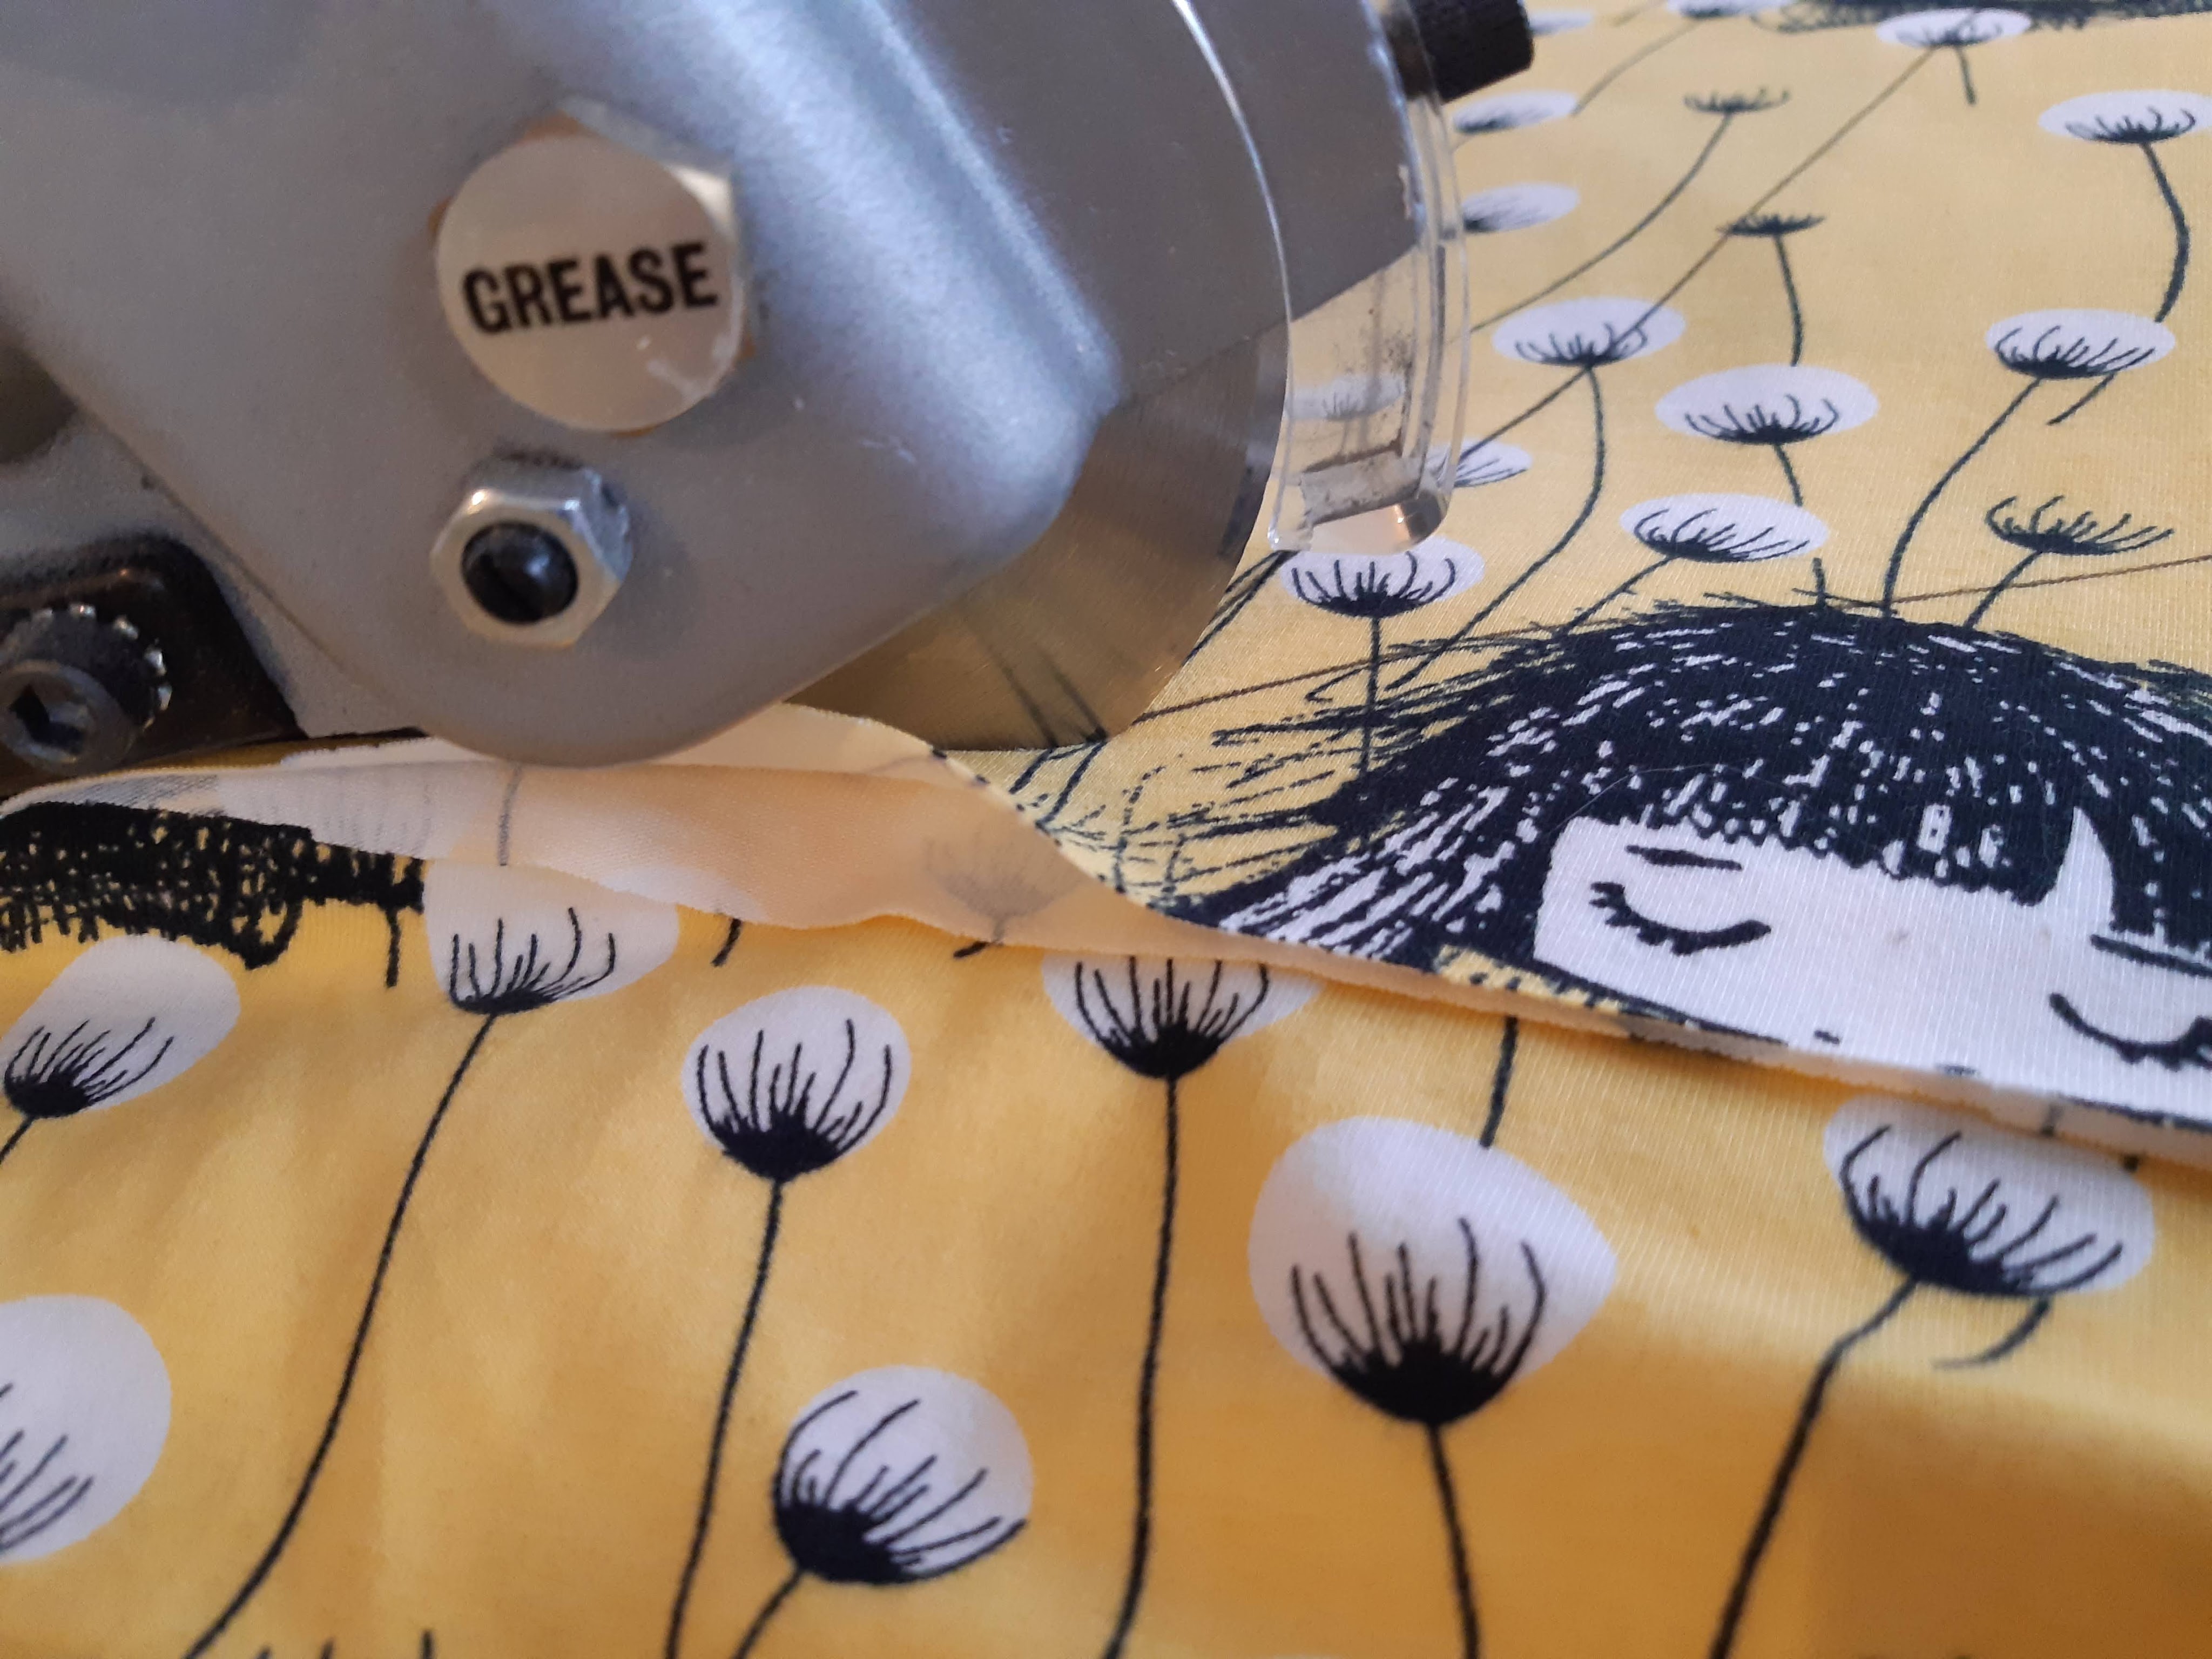
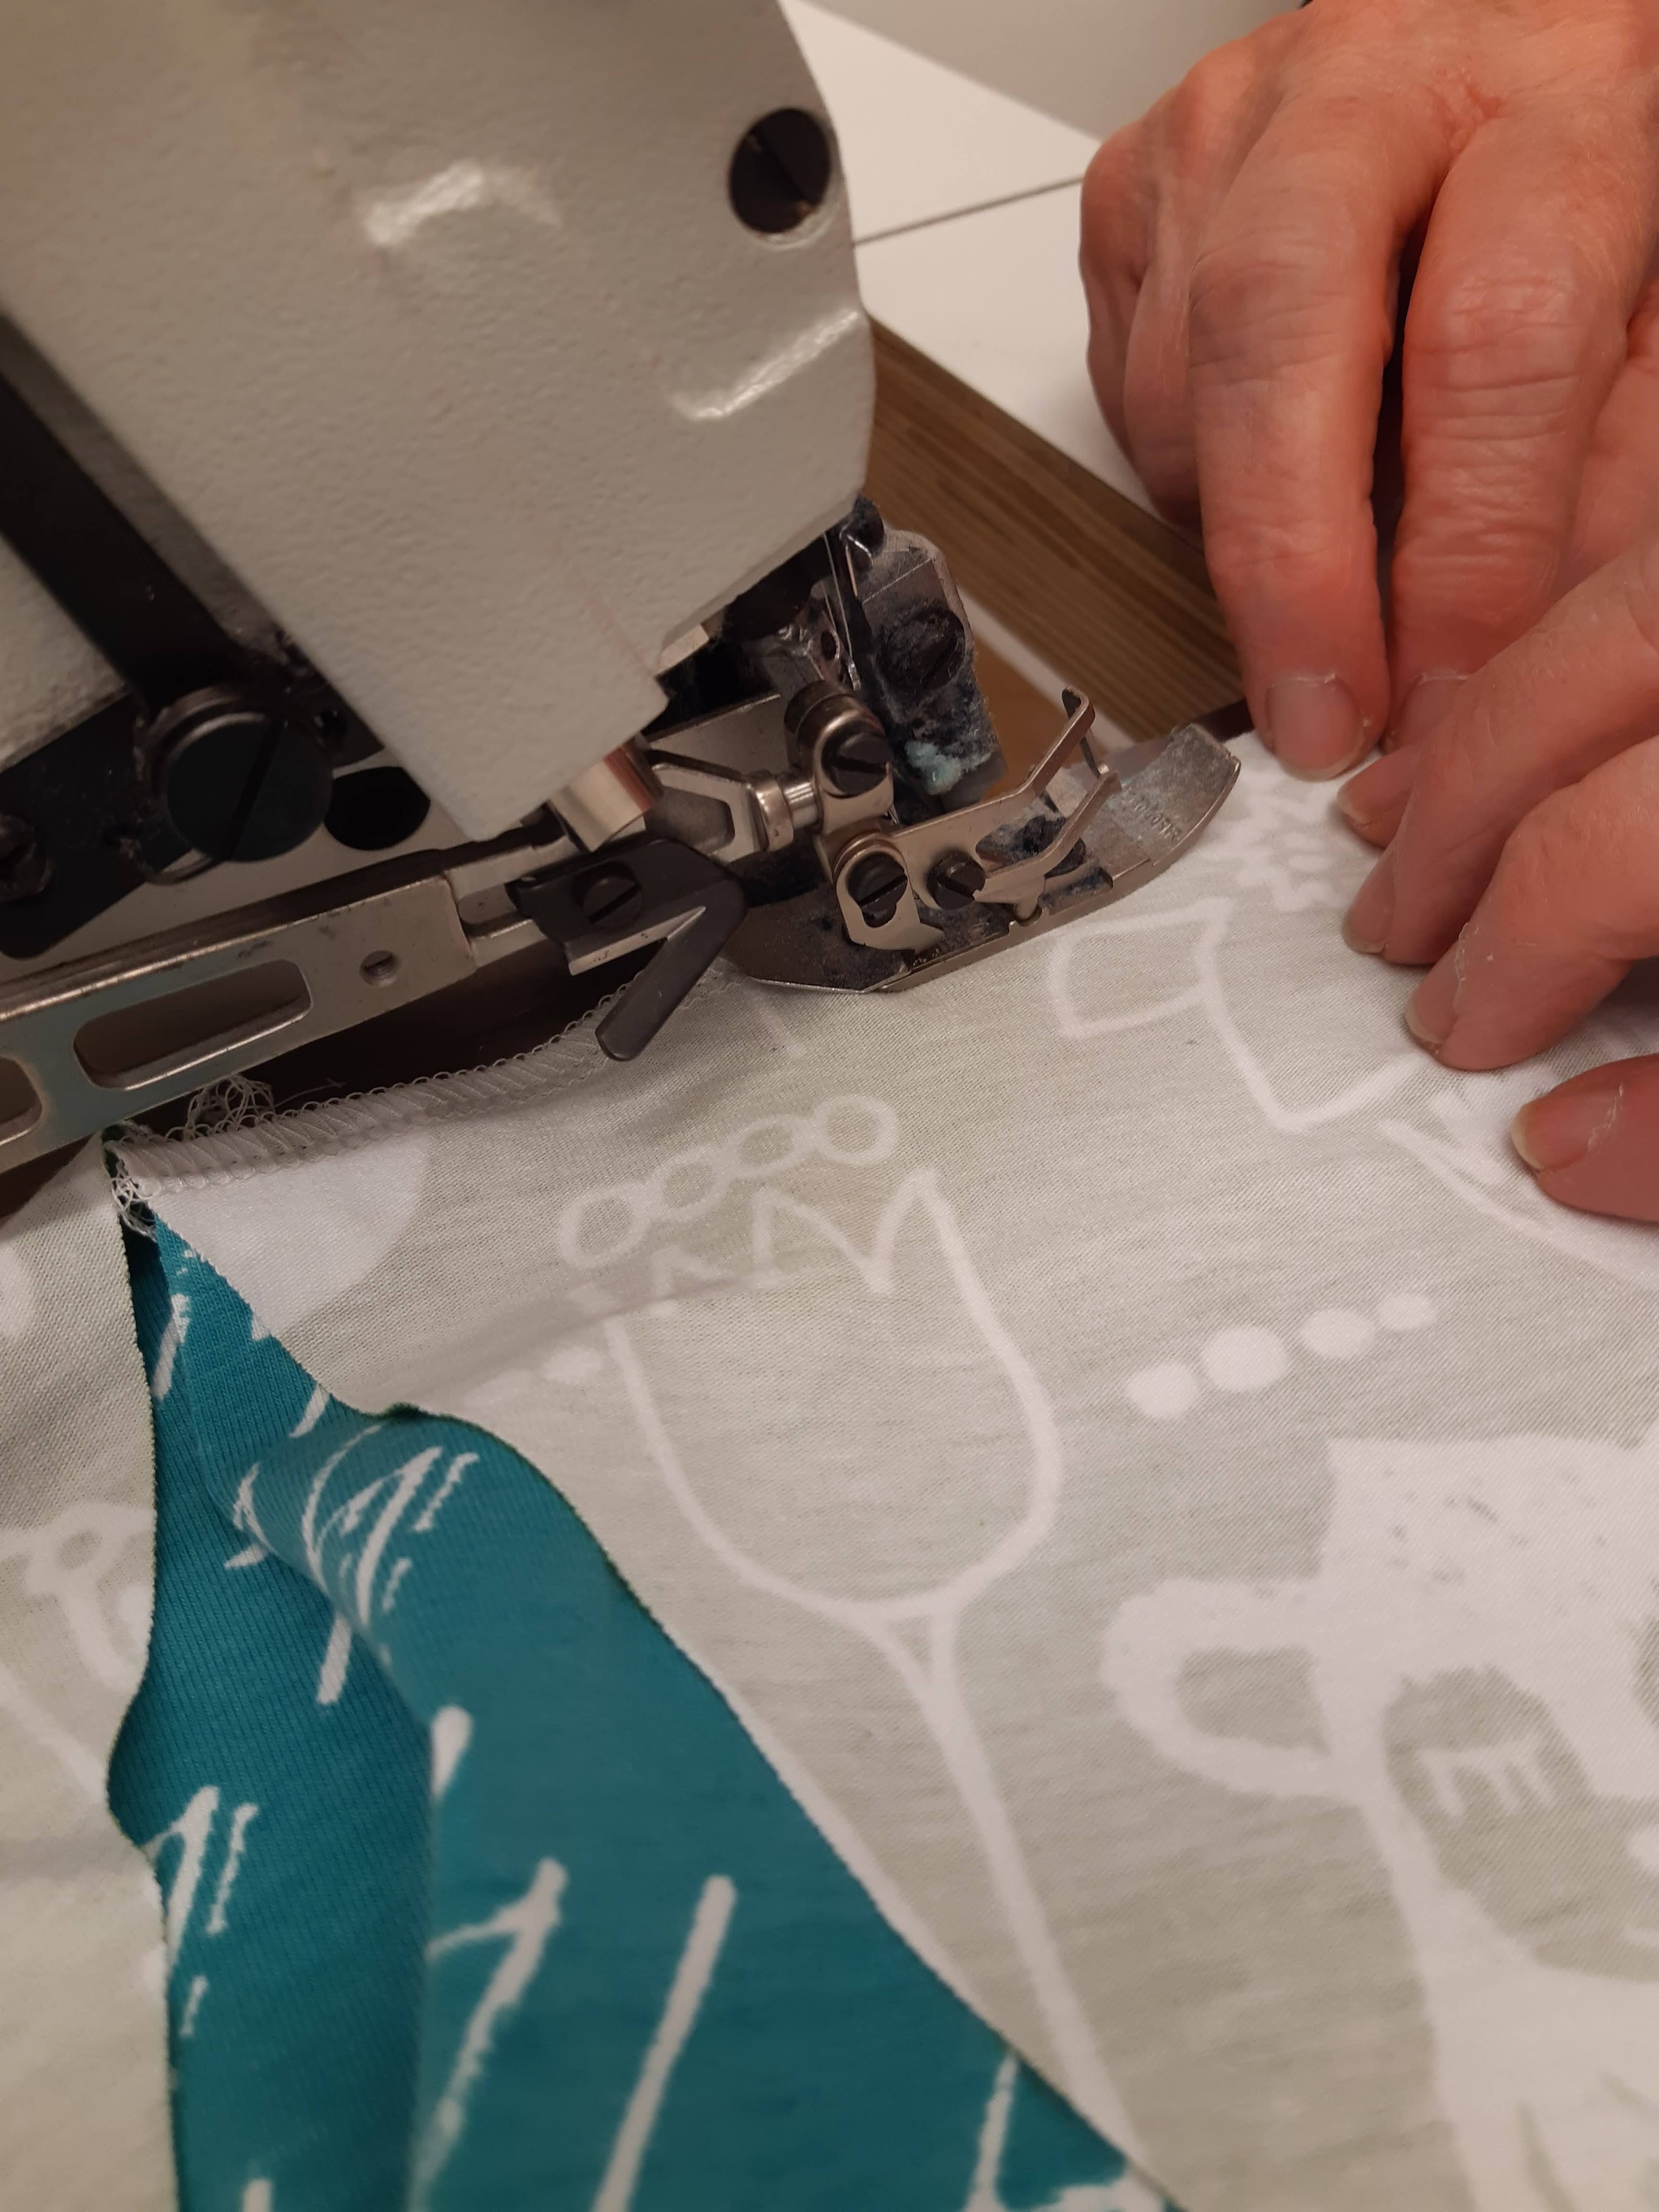
We work on stitching the pieces together for about 10 days, in between other jobs or while we’re waiting for the food to heat up in the oven: any time we have a spare 15 minutes, we sew. Mom does the actual sewing with the machine, I hand her the pieces and put the assembled stuff back, in the correct order.
To optimize efficiency and minimise the risk of mistakes (remember, we have 720 pieces in 30 unique shapes, that have to be fit together exactly right), we don’t make plaid per plaid from one corner to another, but instead attach piece B1a to B2a 24 times, then we stitch that to B3a 24, etc. In the end everything works out exactly as planned, with the exception of one mysterious extra piece. If you want to try something like this yourself, remember that it’s better to sew straight lines, so take that into account when planning how to assemble the pieces. The star at the centre of the design (where 16 B1 pieces come together in a point) is such a place where you have to be careful: easier to assemble the four quarters and then to sew these together with two long seams.

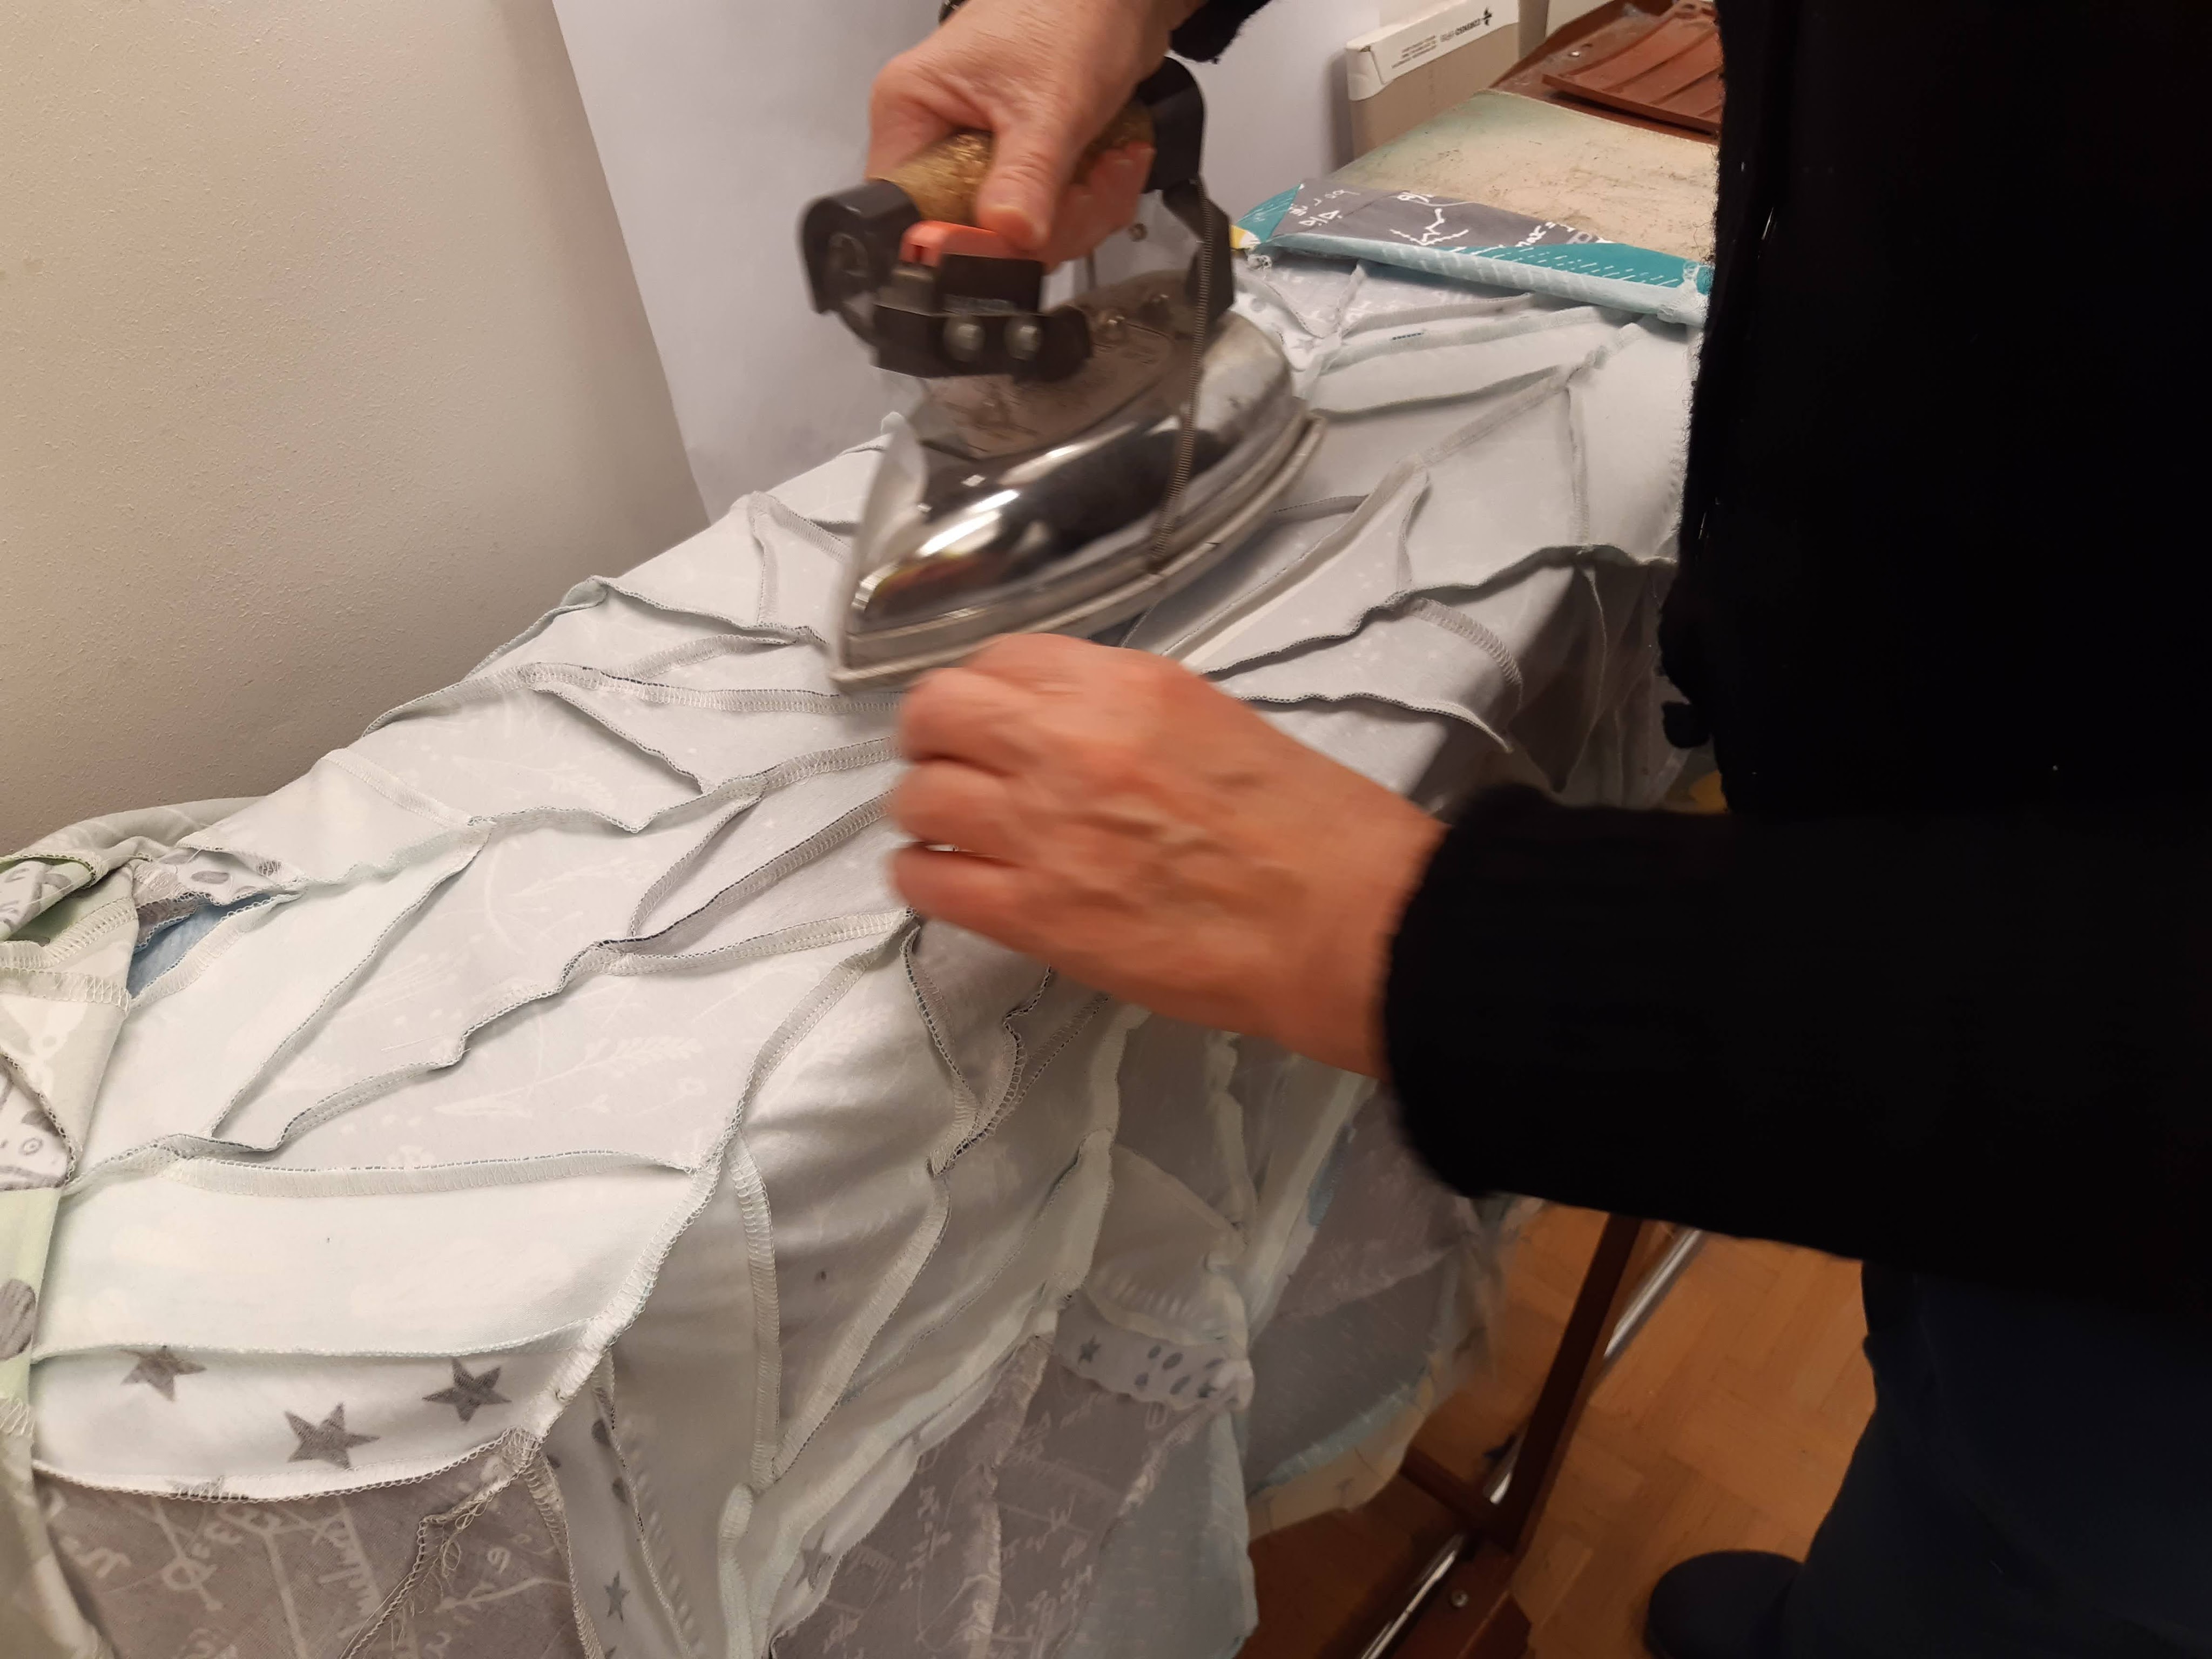


After hours and hours of assembling pieces, suddenly it’s almost finished and we assembly the 24 quarters into three big plaids. By this time the jersey fabric has stretched out a little so the piece is not entirely flat, but this is mostly solved by steaming it with the ironing machine.
I spend another day or so assembling the back pieces. Since the front turned out a bit wider than expected – I have absolutely no idea why – and the design is awesome as it is, we decide to use the bands on the back. After I finish these and I put one of the fronts on one of the backs, I conclude that I must have made a calculating error somewhere, because I’m missing 10 cm at the long end and 16 (!) cm at the short end. No worries, we simply add some more bands. Now the leftover fabrics are really, completely used up.
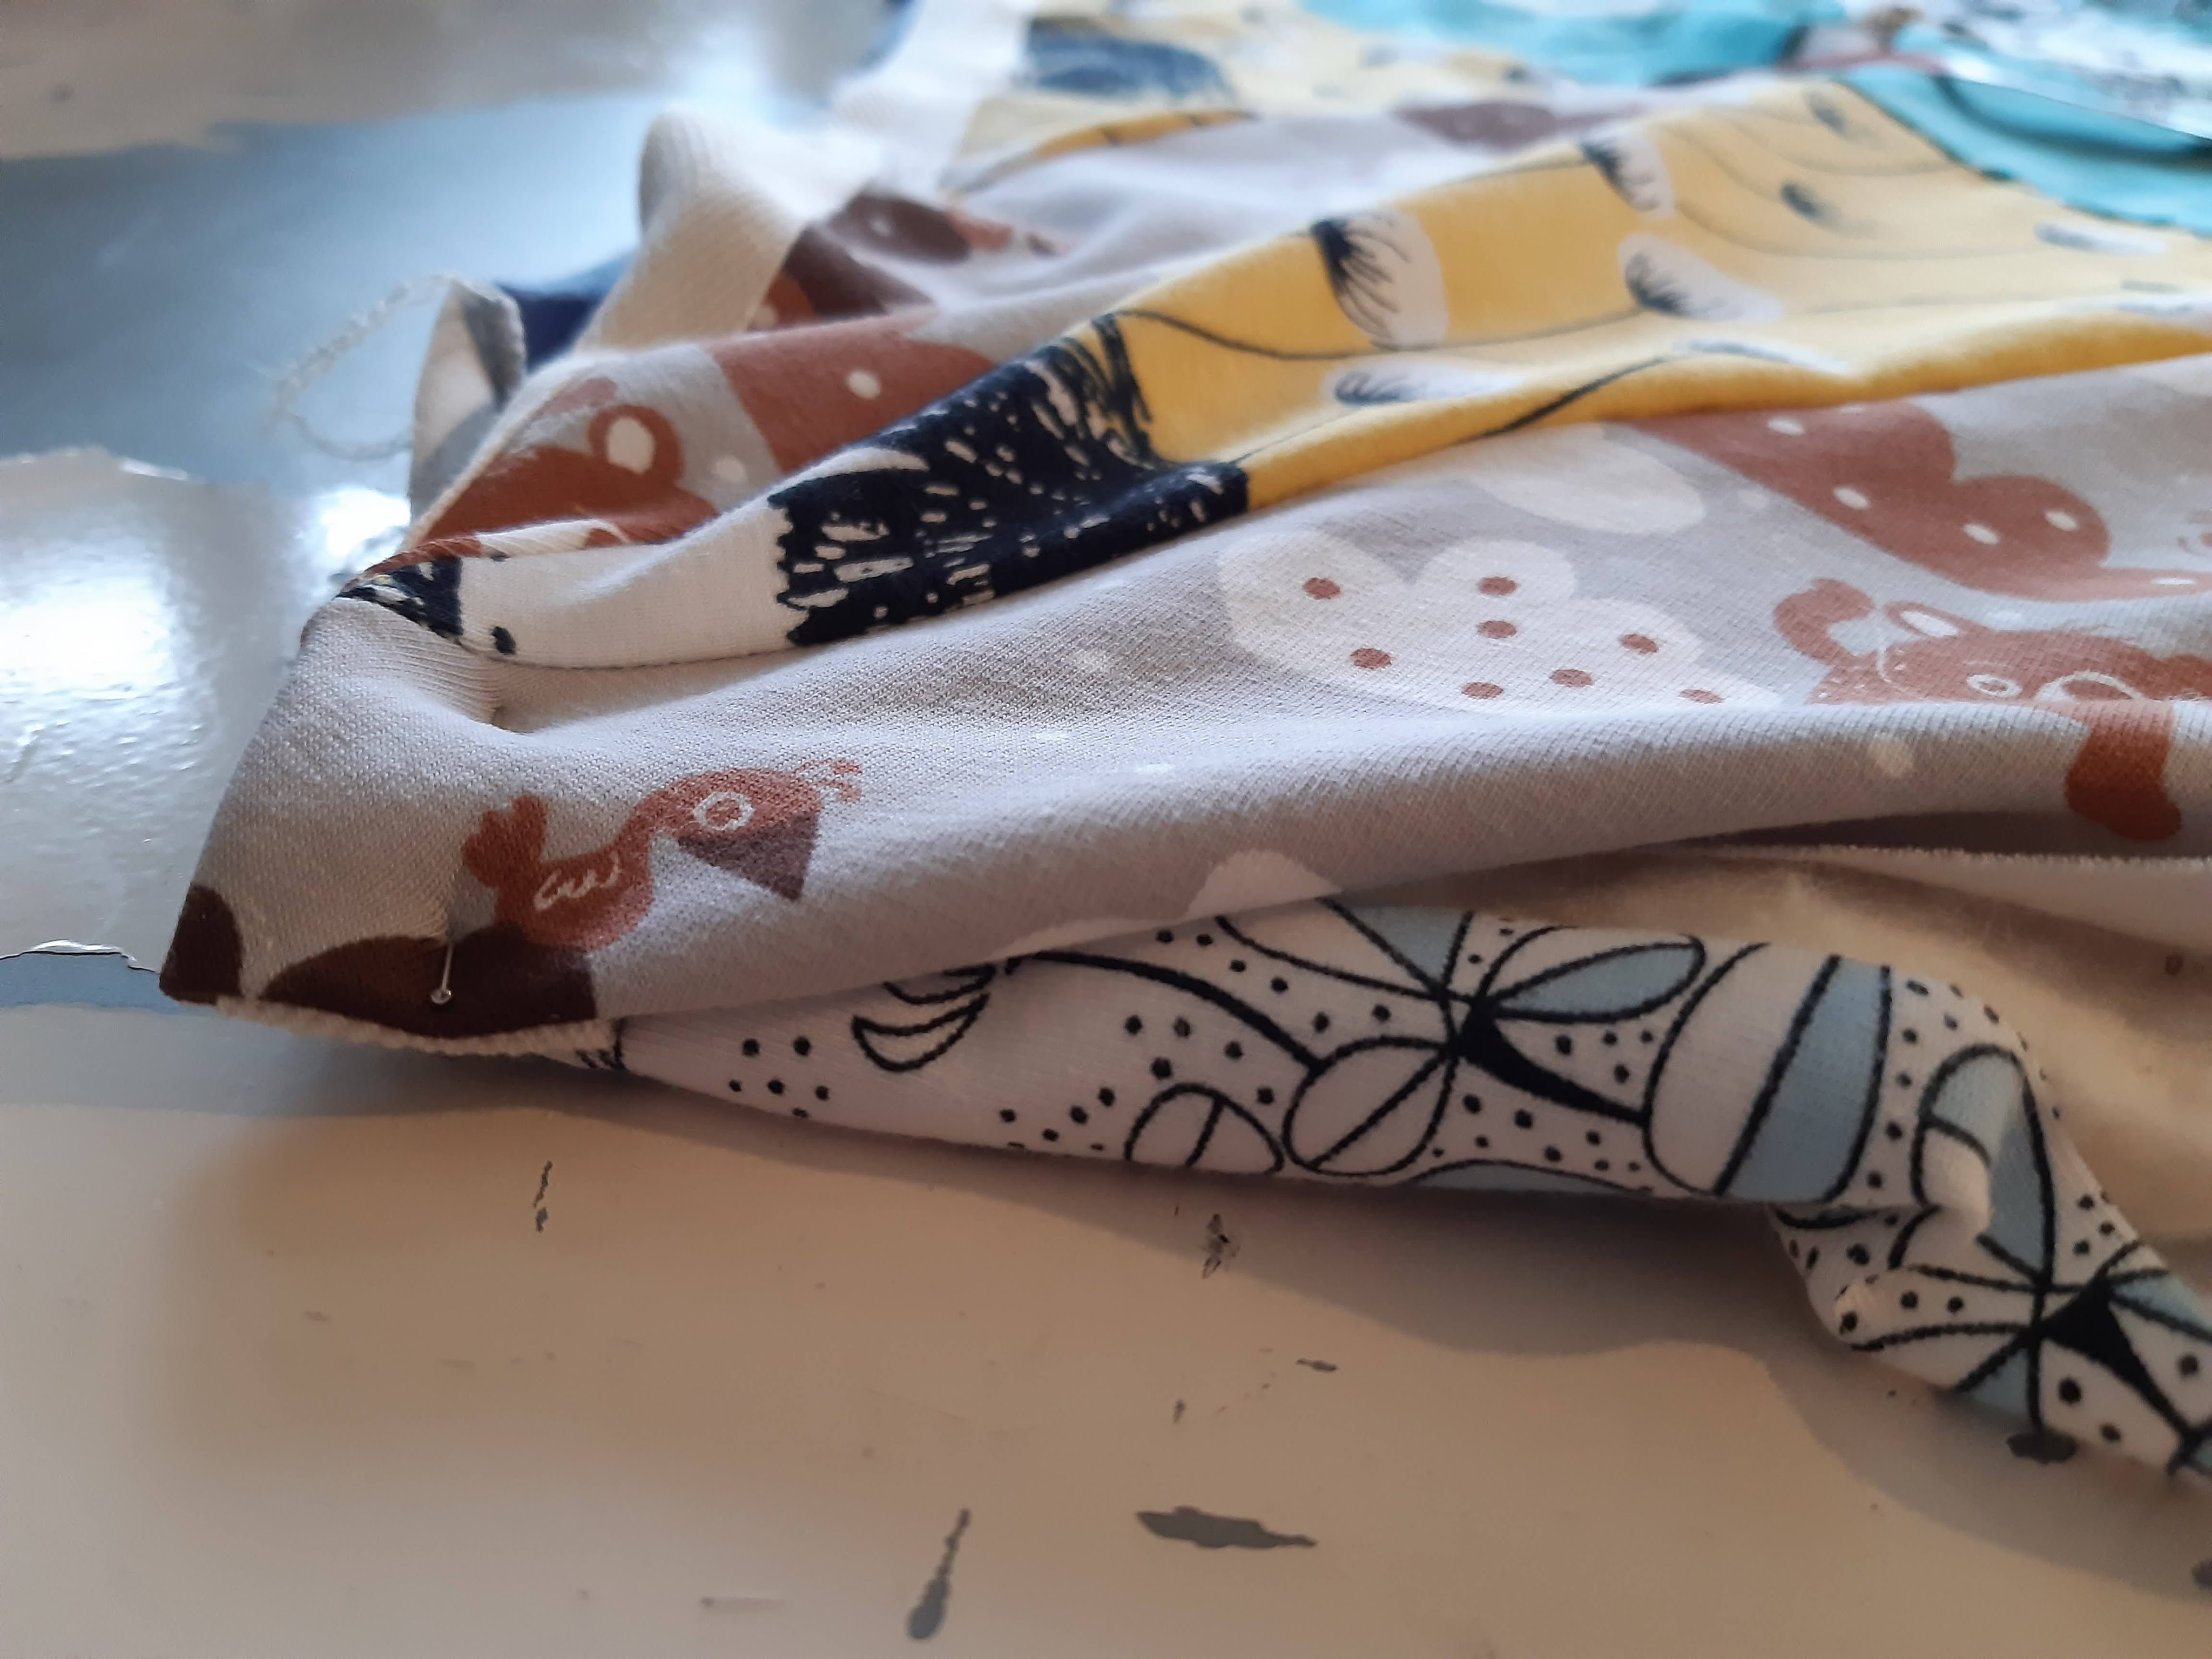
I cut the cottonwool to measure and carefully fold everything closed, my experience with origami is proving to be helpful when tucking in the corners. Mom then carefully stitches everything together: one long row of stitches right through front, cottonwool and back. The end result is amazing: wonderfully thick and soft, with a comforting weight that promises cosy evenings in the couch with the cat, even when it’s freezing outside. Once they are all finished, I’m planning to make some kind of tag saying ‘Corona 2020 project’, I don’t think I would have attempted this if I didn’t have so much free time due to the corona lockdown.

Lessons Learned
Measure twice, cut once! I was really careful with the pieces of the front, to the point of making an excel file to keep track of what to cut in which fabric, how much was already done, etc. When I started on the back, however, I made a few mistakes and had to get creative in fixing them. It still looks great and I don’t think anybody would look at it and see the mistake, but it was completely avoidable.
Avoid sharp corners and narrow points! In one of the plaids, we cannot get the centre of the star to lay flat: it must be a more stretchy fabric than the other two plaids and the many seams together form something of a little hill. Still working on fixing that..
Keep carefully track of the pieces! This kind of design looks best when it’s perfectly symmetrical, so you have to keep careful track of how much fabric you have available of how much you have left and how much you need. Stack everything carefully and count, count, count!
Have fun! It took us a few weeks to finish the plaids, because honestly we only worked on it in bits and pieces until we got bored, after which we’d go out for a walk or have an early lunch, putting aside the puzzle board for the next day.

[…] not have a holiday, I’m spending the next days with my mother, working on projects like the Puzzle Plaid and a prototype for a lined fleece and windbreaker. My mom is my knuffelcontact, but even so we […]
LikeLike